How to Make the Dreamiest Homemade Chocolate Ice Cream (Perfect for Summer Parties!)
There’s nothing quite like the joy of homemade chocolate ice cream—especially when it’s rich, silky and homemade. Whether you’re planning a kids’ garden party, a summer birthday bash or just looking for a magical treat to tuck between cookies for DIY ice cream sandwiches, this recipe is a must-make.
Today, I’m sharing our family favourite, made from-scratch chocolate ice cream recipe using the KitchenAid Ice Cream Maker. It’s creamy, chocolatey, and packed with that nostalgic flavour you remember from childhood birthdays—only better.
It’s a really simple mix for all those who are keen ice cream makers and own the KitchenAid freezer bowl. I haven’t tested this in any other ice cream maker but pretty sure it’s that straight forward and simple you can adapt to suit your own equipment.

Ingredients
- 400ml double cream
- 200ml whole milk
- 130g sugar (I use golden caster sugar)
- 3 tbsp cocoa powder
- 100g chopped choc (I use Dairy Milk or Galaxy)
- 4 egg yolks
- 1 1/2 tsp coarse sea salt
Method
Step 1: Melt the Magic Together
In a saucepan, gently heat the cream, milk, sugar, cocoa powder, and chopped chocolate. Stir until the chocolate melts into a glossy, chocolatey mix. Don’t let it boil—just melt and stir. Once smooth, strain through a fine sieve to remove any bits. I press the remaining thick gloop through the sieve with a wooden spoon, you want all the chocolate goodness but want it to be smooth not lumpy. This is your silky chocolate base!

Step 2: Whisk the Yolks
Add the egg yolks to your stand mixer bowl. Using the whisk attachment, mix on speed 4 for two minutes until pale and creamy. You’re building that lush texture we all love in proper ice cream.
Step 3: Temper and Thicken
Drop the speed to 2. Slowly pour the warm (not hot!) chocolate mixture into the yolks to temper them—this prevents scrambled eggs! Then return everything to the saucepan and cook over medium heat. Keep stirring with a wooden spoon until the mixture thickens into a custard-like consistency. Again, no boiling allowed!
Step 4: Chill Time
Pour your dreamy custard into an airtight container and let it chill in the fridge for a few hours. Yes, the wait is real—but so worth it.

Step 5: Churn to Perfection
Attach your frozen KitchenAid Ice Cream Maker bowl to the mixer. Turn to ‘STIR’ speed and pour in your chilled mixture. Let it churn for 14 minutes, then add the sea salt and mix for 2 more. The result? Perfectly textured chocolate ice cream with a subtle salty edge. I added caramel buttons to the last couple minutes of churning and it went down a treat with the little ones. Eat straight away for a delicious, soft gelato style ice cream, or scoop into a container and freeze for 2–4 hours to firm up.
Hosting a Party?
- Spoon it into waffle cones for a vintage ice cream parlour vibe
- Make the ultimate ice cream sandwich using chewy cookies
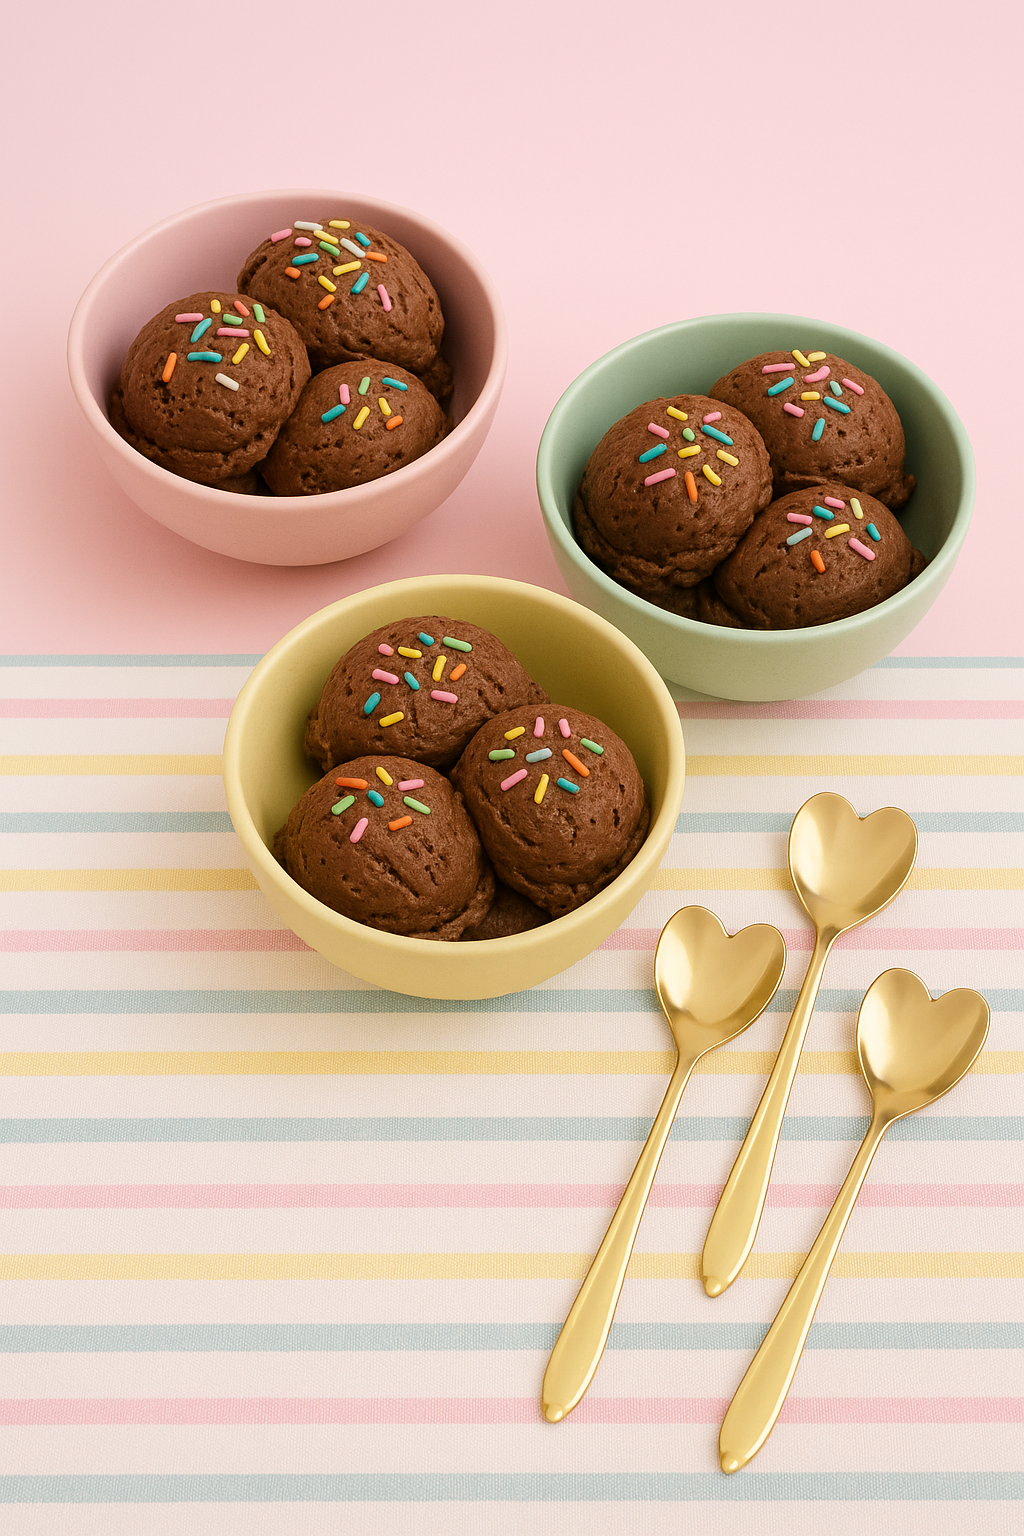
- Serve in mini pastel cups at your next party, topped with party-perfect sprinkles
- Create a sprinkle bar with lots of types of fun ice cream toppings and let your guests create their own ice cream creation

Team up with our ice cream napkins, heart spoons and ice cream tablecloths, balloons and garlands for the sweetest ice cream themed party.
Shop the full Ice Cream Parlour Collection here